The Dead We Knew: Co-op Multiplayer & Server Hosting Guide
Master co-op multiplayer in The Dead We Knew. Complete setup guide for 4-player lobbies, dedicated server hosting, port forwarding, and fixing desync issues.
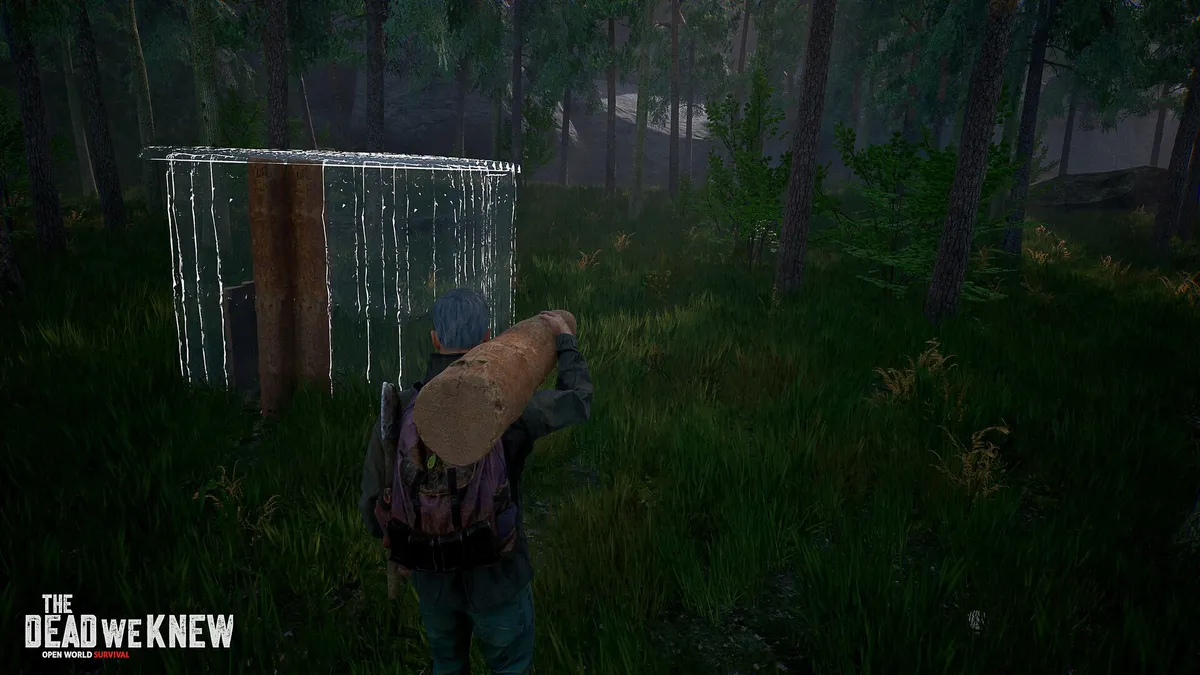
THE DEAD WE KNEW: Open World Survival delivers its most intense gameplay when played cooperatively. While exploring the mist-choked wilderness alone is terrifying, coordinating with a 4-player squad allows your team to establish self-sustaining compounds, mount coordinated deer hunts, and repel relentless horde assaults during dense fog events.
This comprehensive guide covers everything required to establish stable multiplayer sessions: Steam peer-to-peer lobby setup, hosting dedicated community servers, router port forwarding rules, firewall exceptions, and troubleshooting network desync.
1. Multiplayer Architecture Overview
The game supports up to 4 players per session via two primary hosting methods:
| Hosting Mode | Max Players | Best For | Technical Complexity | Performance Impact |
|---|---|---|---|---|
| Steam P2P Co-op | 4 Survivors | Casual friend groups, quick sessions | Low (Steam Invite UI) | Host computer runs game & world simulation |
| Dedicated Server | 4+ Survivors | Persistent community worlds, 24/7 uptime | Moderate (Config files, Port Forward) | Server handles physics and NPC spawns independently |
Important: In Steam P2P sessions, the world progression is saved locally on the host machine. If the host logs off, all connected clients will be disconnected from the session.
2. Setting Up a Quick Steam Co-op Lobby
For most players wanting to jump directly into the wilderness with friends, Steam P2P hosting is the fastest method:
Host Step-by-Step
- Launch THE DEAD WE KNEW from your Steam library.
- Select Multiplayer from the main menu and click Host Game.
- Choose your session parameters:
- Server Name: Set a recognizable title for your session.
- Session Privacy: Select between Friends Only, Invite Only, or Public.
- Password: Always set an alphanumeric password if selecting Public.
- Difficulty Preset: Choose Standard Survival, Hardcore, or Custom Sandbox.
- Select an existing world save or create a New World.
- Once spawned into the world, open the Steam Overlay (
Shift + Tab), right-click your friends, and select Invite to Game.
Client Connection Step-by-Step
- Accept the Steam chat invitation notification or right-click your friend’s avatar in the Steam Friends List and choose Join Game.
- If the lobby is password-protected, enter the passcode when prompted.
- Your survivor will spawn near the host’s active camp or designated starting clearing.
3. Dedicated Server Hosting & Port Forwarding
If you run a dedicated machine or wish to keep your base active 24/7 without needing the primary player online, setting up a standalone server instance is recommended.
Required Network Ports
Ensure the following UDP and TCP ports are forwarded in your router settings to the internal IP address of your host PC:
- Game Traffic (UDP):
7777 - Raw UDP Query (UDP):
27015 - Steam Master Server (UDP/TCP):
27016
Router Port Forwarding Configuration
- Open your browser and navigate to your router gateway (typically
192.168.1.1or192.168.0.1). - Log into the router administrative panel.
- Locate Port Forwarding, Virtual Server, or NAT Rules.
- Create a new service rule:
- Rule Name:
TDWK_Server - Protocol:
UDP / TCP - External / Internal Port:
7777, 27015, 27016 - Internal IP: Enter your host machine’s static local IPv4 address (found via
ipconfigin Command Prompt).
- Rule Name:
- Apply and save the router configuration.
Windows Defender Firewall Setup
You must also allow incoming traffic through Windows Defender Firewall:
New-NetFirewallRule -DisplayName "TDWK Server Inbound" -Direction Inbound -LocalPort 7777,27015,27016 -Protocol UDP -Action Allow
New-NetFirewallRule -DisplayName "TDWK Server Inbound TCP" -Direction Inbound -LocalPort 7777,27015,27016 -Protocol TCP -Action Allow
4. Squad Roles & Resource Distribution
Surviving the fog requires careful role specialization among your 4-player fireteam. Avoid redundant crafting queues by designating clear squad responsibilities:
                  ┌───────────────────────────────┐
                  │      Squad Leader / Scout     │
                  │  (Cartography, Flare Guns)    │
                  └───────────────┬───────────────┘
                                  │
         ┌────────────────────────┴────────────────────────┐
         ▼                                                 ▼
┌───────────────────────────────┐         ┌───────────────────────────────┐
│     Huntsman & Gatherer       │         │      Combat & Heavy Gunner    │
│  (Hunting Bow, Traps, Crops)  │         │  (Shotgun, Barricade Defense) │
└───────────────────────────────┘         └───────────────────────────────┘
                                  │
                                  ▼
                  ┌───────────────────────────────┐
                  │      Engineer & Carpenter     │
                  │  (Cabin Crafting, Generator)  │
└───────────────────────────────┘- The Scout: Carries high mobility gear, binoculars, and flare markers. Responsible for identifying hostile human scavenger camps and locating deer herds.
- The Huntsman / Farmer: Focuses on the food pipeline. Tends tomato garden beds, checks animal snare loops, and butchers venison for camp cooking.
- The Combat Point: Wears the highest tier armor vest and carries the primary firearm. Leads room-clearing in abandoned cabins and defends the perimeter during night attacks.
- The Engineer: Manages workbench upgrades, reinforces cabin doors with wood and sheet metal, and monitors generator fuel reserves.
5. Troubleshooting Network Desync & Connection Drops
If squad members report “rubberbanding”, invisible zombies, or high ping during fog events, follow these optimization steps:
1. Disable Aggressive Packet Filtering
Third-party antivirus suites (such as Norton or Bitdefender) frequently inspect game UDP packets as anomalous traffic. Add the game’s executable TheDeadWeKnew.exe to your security software’s whitelist.
2. Cap Client Framerates
When the host’s GPU is pegged at 100% utilization rendering volumetric mist, server tick rates can stutter. In graphics settings, set Max Frame Rate on the host machine to match your monitor’s baseline (e.g., 60 FPS or 120 FPS) to leave CPU headroom for network packet delivery.
3. Verify Steam Network Sockets
In the game settings menu, toggle Steam Datagram Relay (SDR) to Enabled. This routes traffic through Valve’s low-latency private network backbone rather than unoptimized public routing routes.